
本文章环境 利用虚拟机 VMware 软件运行,系统版为 CentOS-8.1.1911-x86_64-dvd
注意:必须关闭SEliunx 和 防火墙,其他 基本操作和命令 本文并未列出
系统环境:
$ cat /etc/redhat-release
# CentOS Linux release 8.1.1911 (Core)
1.更新 CentOS 8 软件包
$ dnf update
注:也可以选择不更新
2. 在 CentOS 8 上安装 Nginx
安装nginx
$ sudo yum install -y nginx 或 dnf install nginx
设置开机自启
$ sudo systemctl enable nginx
启动
$ sudo systemctl start nginx
查看当前ip地址
$ sudo hostname -I | awk '{print $1}'访问效果
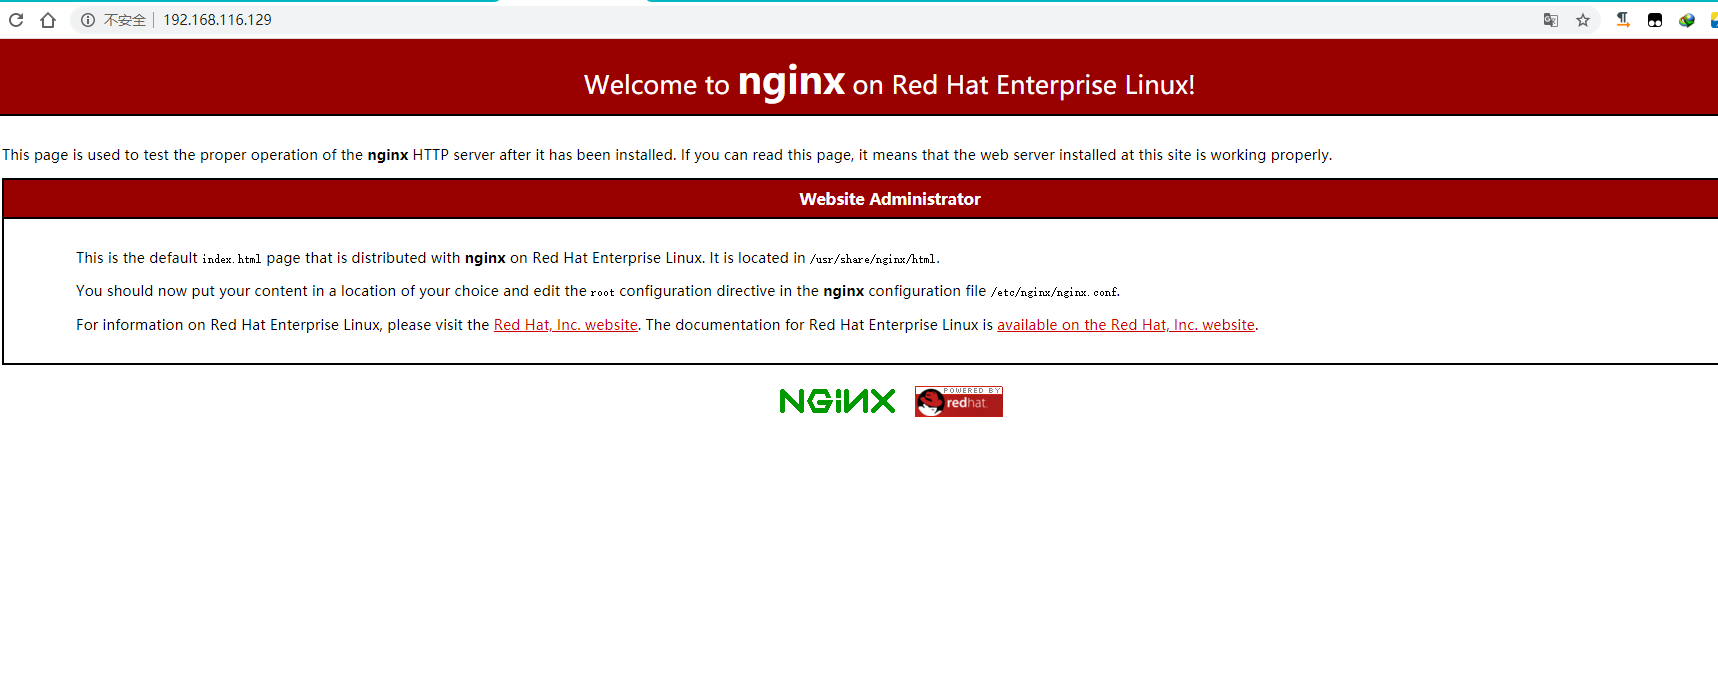
nginx其他命令:
停止
$ sudo systemctl stop nginx
查看状态
$ sudo systemctl status nginx
3. 在 CentOS 8 上安装 MariaDB
安装 MariaDB
$ dnf install mariadb-server mariadb -y
设置 MariaDB 服务开机自启
$ systemctl enable mariadb
启动服务
$ systemctl start mariadb
设置数据库(Mariadb)密码
$ mysql_secure_installation
# 1、 root 密码为空,直接回车即可
# 2、设置新密码
# 3、根据提示输入 y 或者 n,建议一直 y 到最后。
MariaDB 配置文件路径:/etc/my.cnf

其他命令:
关闭服务
$ systemctl stop mariadb
重启服务
$ systemctl restart mariadb
查看服务状态
$ systemctl status mariadb
4. 在 CentOS 8 上安装 PHP 7
使用 Remi 信息库安装 PHP
# 安装 EPEL 存储库 (未安装)
$ dnf install https://dl.Fedoraproject.org/pub/epel/epel-release-latest-8.noarch.rpm
# 安装yum utils并使用以下命令启用remi-repository
$ dnf install dnf-utils http://rpms.remirepo.net/enterprise/remi-release-8.rpm
# 搜索可下载的 PHP 模块
$ dnf module list php
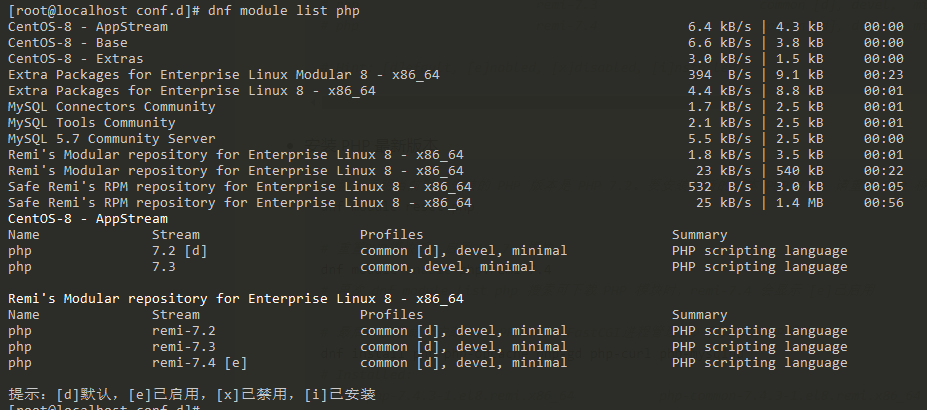
安装 PHP 版本 安装
选择 7.4版本
重置 PHP 模块
$ dnf module reset php
启用PHP 7.4模块
$ dnf module enable php:remi-7.4
使用命令安装PHP 和关联的PHP模块
$ dnf install php php-opcache php-gd php-curl php-mysqlnd php-fpm
设置 PHP-FPM 服务开机自启
$ systemctl enable php-fpm
启动PHP-FPM
$ systemctl start php-fpm
修改配置文件 /etc/php.ini 然后重启
date.timezone =Asia/Shanghai
其他PHP命令
查看 PHP 版本
$ php -v

# PHP 7.4.3 (cli)
# 关闭 PHP-FPM 服务
$ systemctl stop php-fpm
# 查看 PHP-FPM 服务状态
$ systemctl status php-fpm
# 重启 PHP-FPM 服务
$ systemctl restart php-fpm
Nginx Mariadb PHP 安装完成后 配置nginx
nginx 配置文件路径 /etc/nginx/nginx.conf
如果没有引入 include /etc/nginx/conf.d/*.conf; 则需要引入 将文件中默认的 80 访问配置去掉

然后 在/etc/nginx/conf.d/ 新建 conf 文件
$ vi /etc/nginx/conf.d/www.conf
然后配置www.conf文件
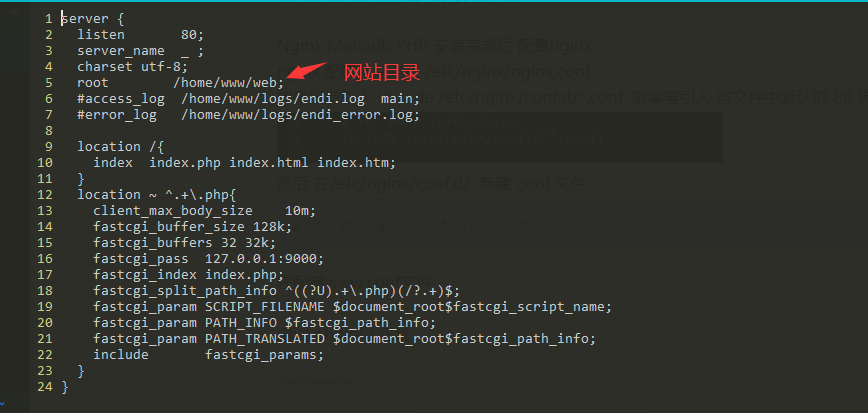
$ systemctl restart nginx
测试可以访问html 却不能解析 php ,发现nginx 中conf.d目录中生成了 php-fpm.conf 文件

vi php-fpm.conf 发现

将php-fpm.conf文件中 unix:/run/php-fpm/www.sock; 替换掉www.conf文件中 fastcgi_pass 127.0.0.1:9000;

测试 phpinfo 正常
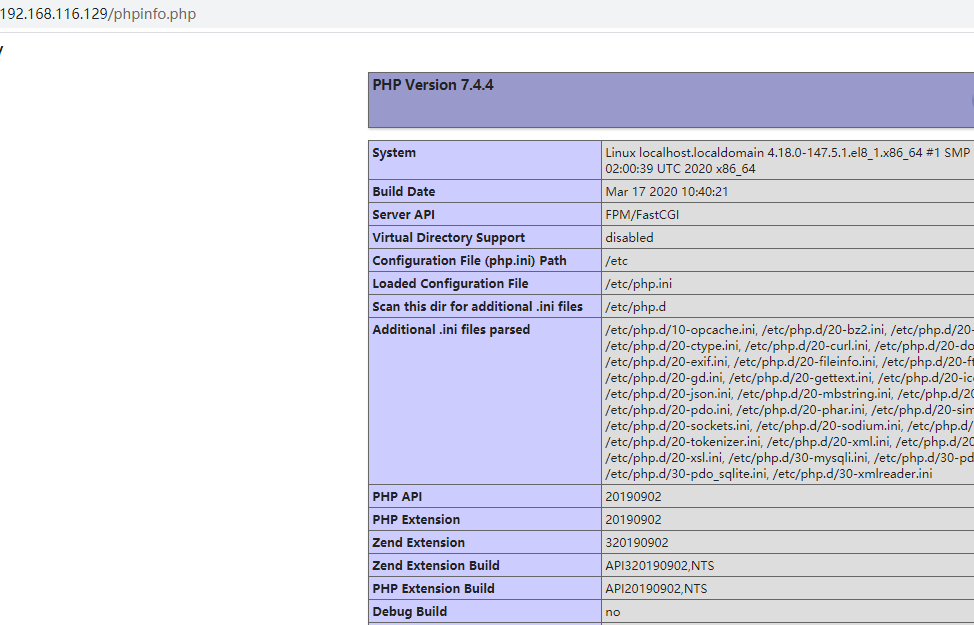
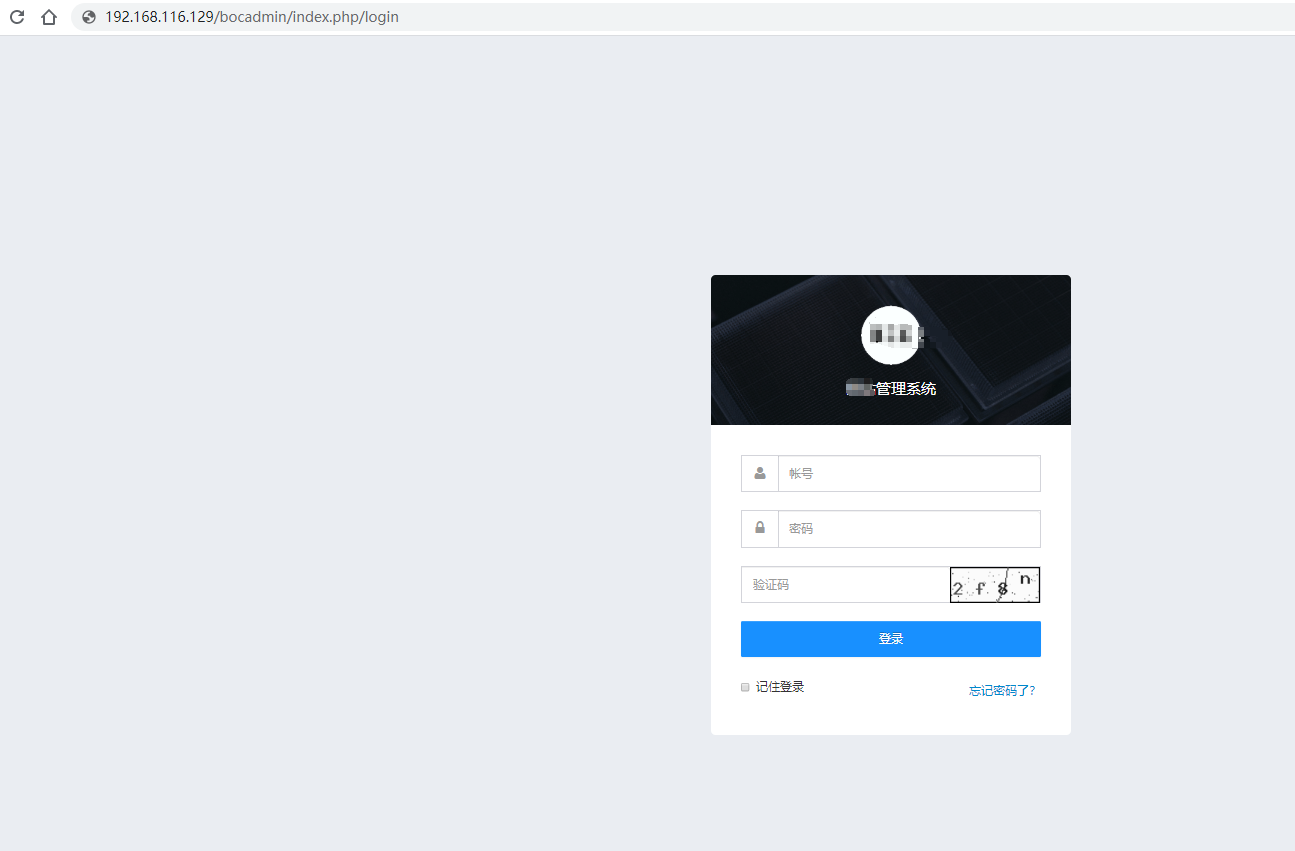
部署网站正常访问
注:本文为原创文章,转载、复制等操作,请注明地址来源

 恩迪博客
恩迪博客


发表评论